Cost to Remove a Load Bearing Wall UK
Understanding the Costs of Removing a Load Bearing Wall and labour cost in the UK – 2024
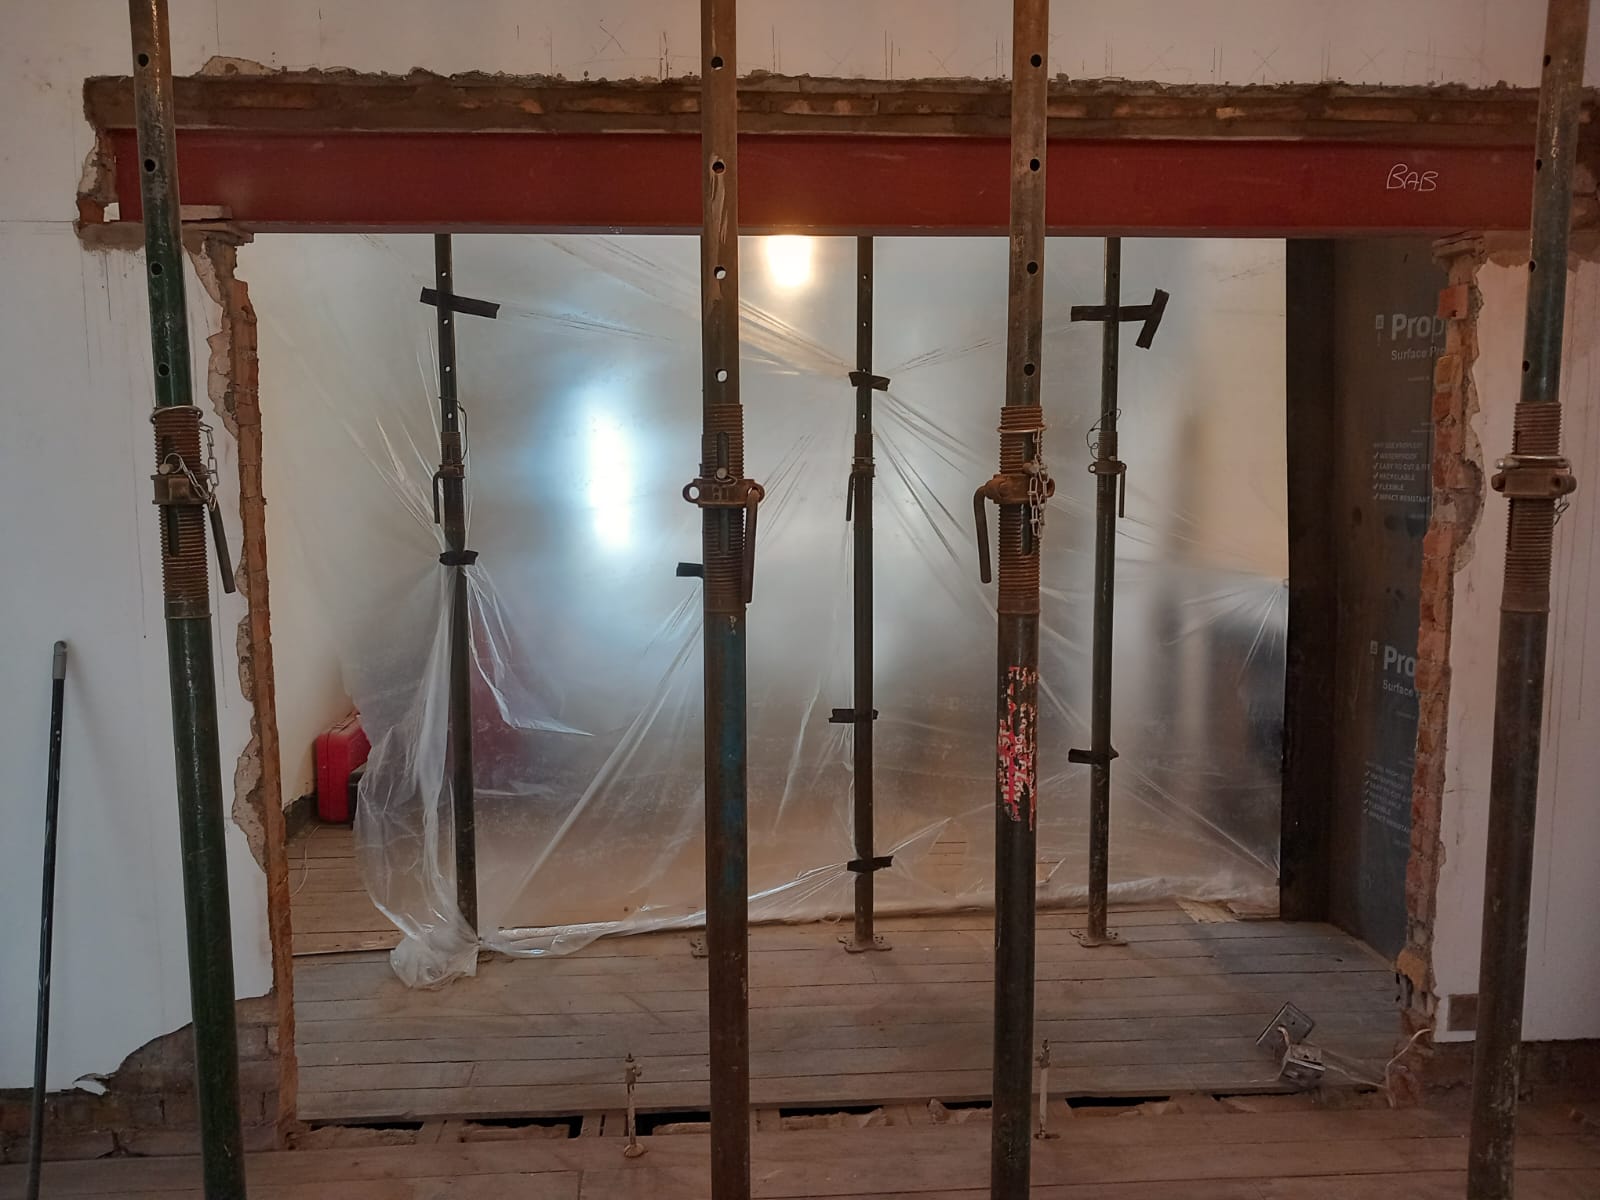
Removing a load-bearing wall can be a transformative home improvement project, opening up spaces and creating a more modern and spacious feel.
However, it’s crucial to understand the costs involved in such an undertaking. In this article, we’ll break down the key factors that influence the cost to remove a load-bearing wall, helping you make informed decisions for your home renovation.
LAST UPDATED: JUNE 12, 2024
How much does it cost to remove a Load Bearing Wall (4m) in the UK?
The Final Project Cost:
Home visit: £250 (refundable)
Structural Engineer: £550 – £750
Building Notice: £450 – £600
Acrow Props & Strong boys: £300
Steel Beam and Pads: £332
Skip Hire: £480
Labour Cost: 5K – 6K
Other Materials: £500
The project will cost: £7,862 – £9,212 (excl. VAT)
Contingency: 20%
USEFUL LINKS / CALCULATORS
Qualified Contractor For Load Bearing Wall Removal
Importance of Choosing a Qualified Contractor for Load-Bearing Wall Removal.
Selecting a qualified contractor is essential for the removal of your load-bearing wall, as it significantly impacts the structural integrity of your home.
First step: Client Property Visit
The initial and crucial step involves visiting the client’s property to gather comprehensive details and capture essential photographs.
During this visit, engage in a conversation with the client about their home, inquire about their intended living arrangements while the work is underway, and assess whether they plan to be on-site.
If the client chooses to stay at home, it is imperative to take proactive measures to minimise dust.
This includes arranging for a dust extractor fan on-site, effectively reducing the impact of dust and ensuring a more comfortable living environment for the client during the course of the work.
The visit will cost approx. £250
Second step: Structural Engineering Expertise
The pivotal next step involves promptly engaging a skilled structural engineer to conduct an on-site assessment.
This crucial professional ensures the provision of essential drawings and accurate load calculations, particularly if the installation of a beam is deemed necessary.
Their expertise not only guarantees structural integrity but also plays a key role in laying the foundation for a successful and well-informed project execution.
In the UK, hiring a structural engineer for this task can cost between £300 – £500. This assessment is a necessary investment to guarantee that the load can be adequately supported after the wall removal.
Third Step: Building Regulations for Load-Bearing Wall Removal
The next critical step involves navigating to the building regulation website of your local council.
Here, you can either print out the necessary form or complete it online, specifying the details of the planned works.
Typically, for the removal of a load-bearing wall, acquiring a Building Notice suffices, enabling you to commence the project within 24 hours.
The associated cost, ranging between £450 and £600, varies based on your location and ensures compliance with regulatory standards for a smooth and efficient approval process.
With all the necessary permissions and paperwork in order, you are now poised to proceed with the subsequent steps of the project.
Keep in mind that the allure of saving a few pounds by opting for a less reputable builder can translate into substantial future expenses.
Choosing a qualified and professional specialist is an integral part of a cost-effective and enduring wall removal.
Forth Step: Materials Part
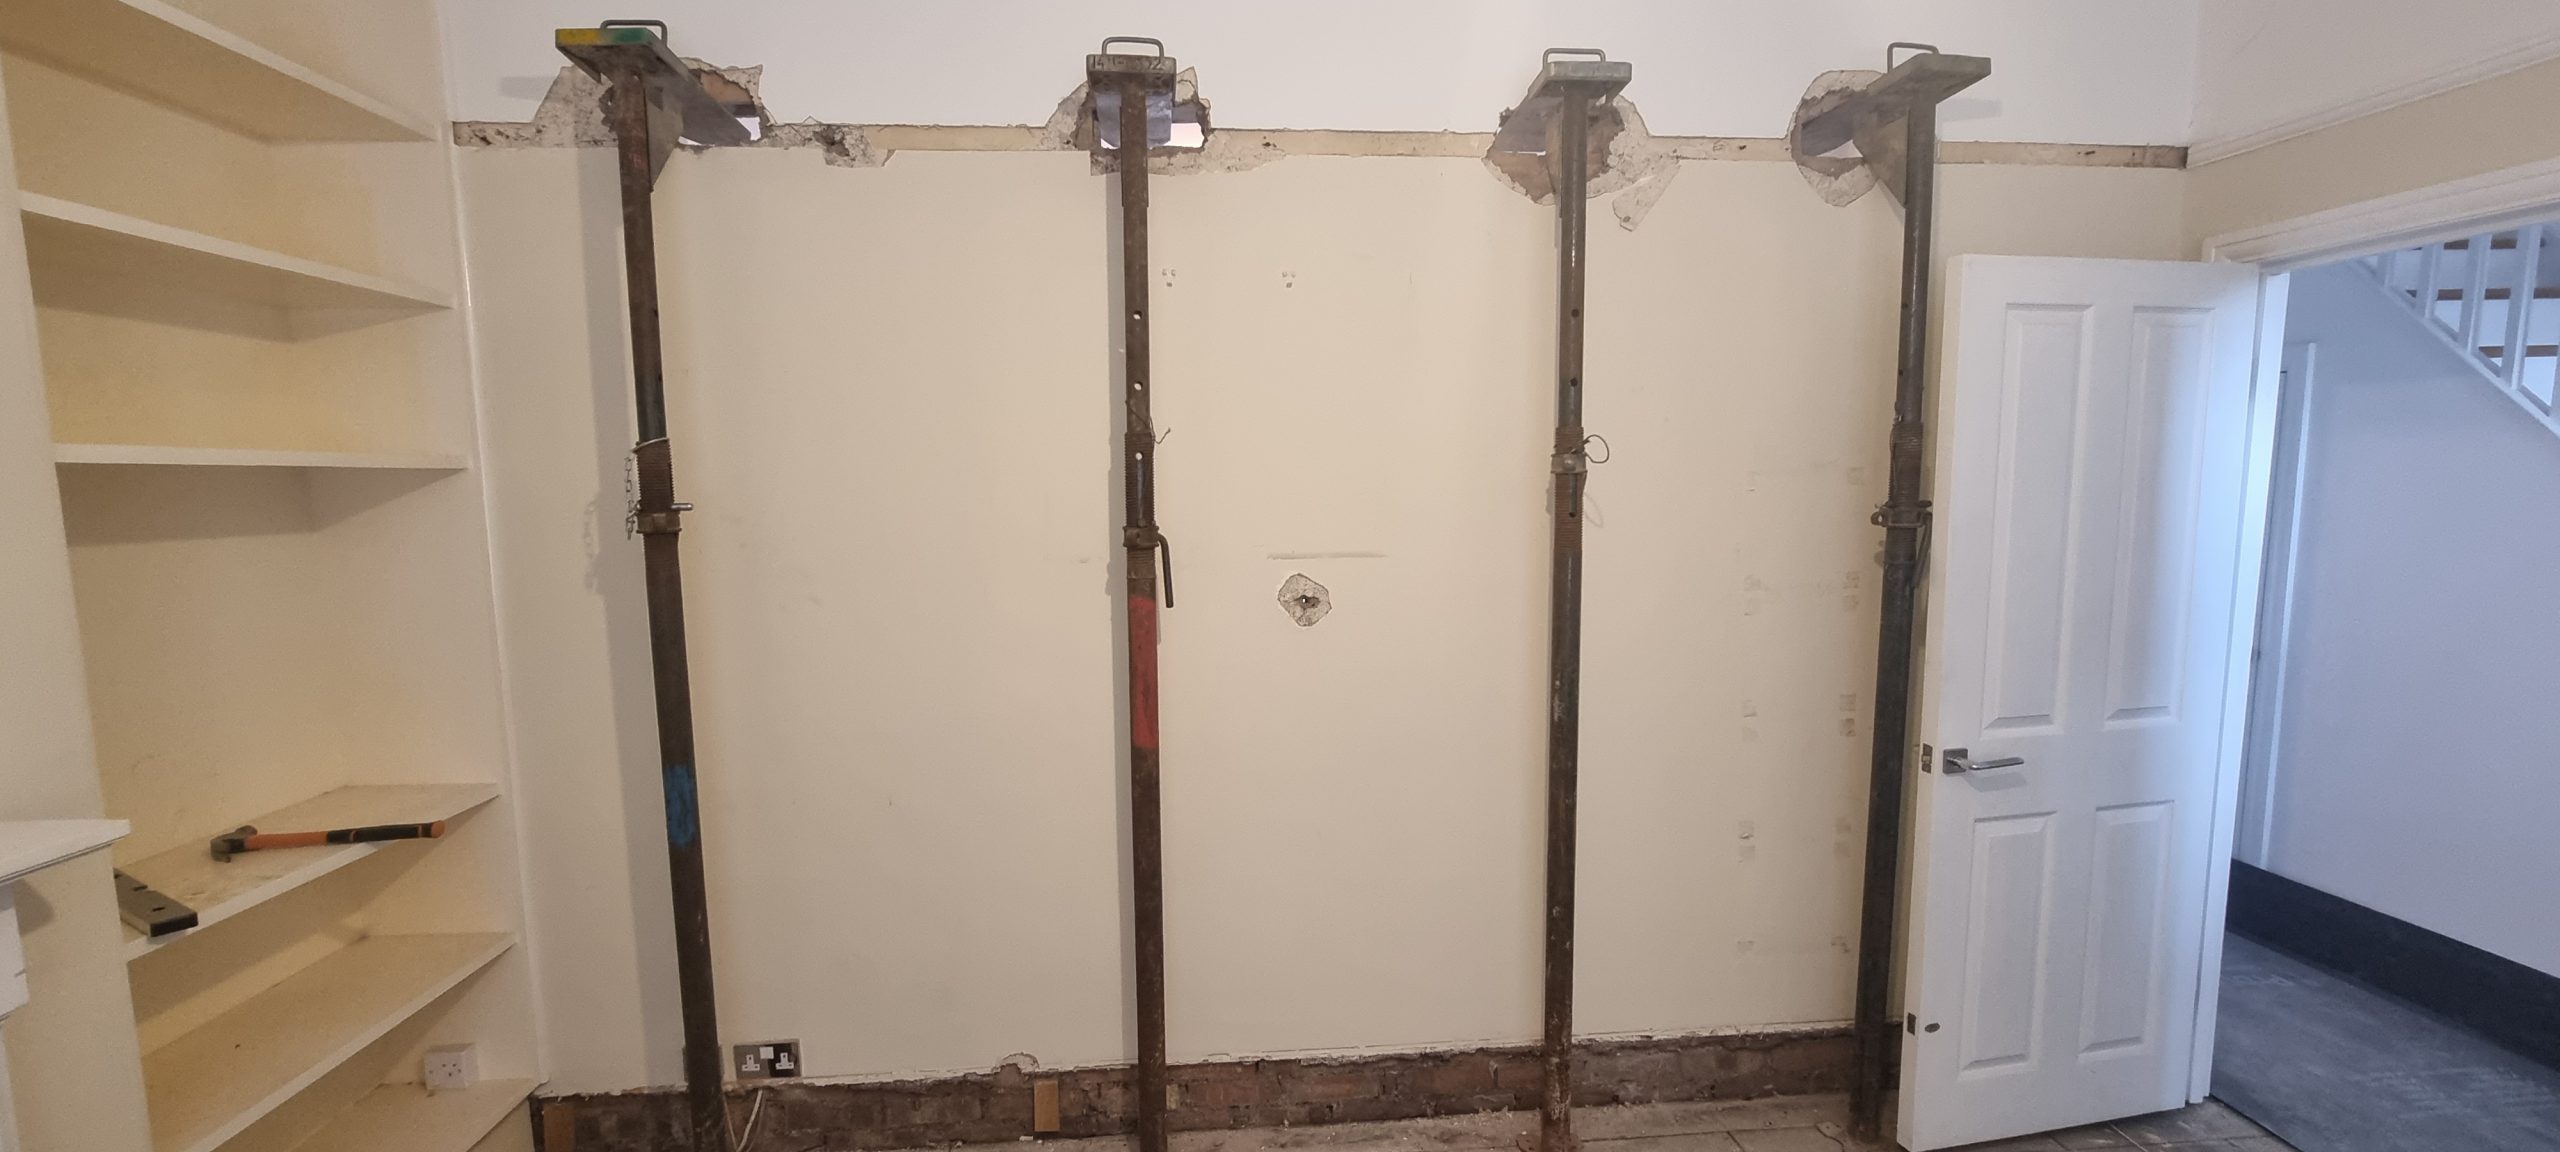
Now, equipped with the necessary permissions, it’s time to procure materials and assemble a skilled team for the next phase.
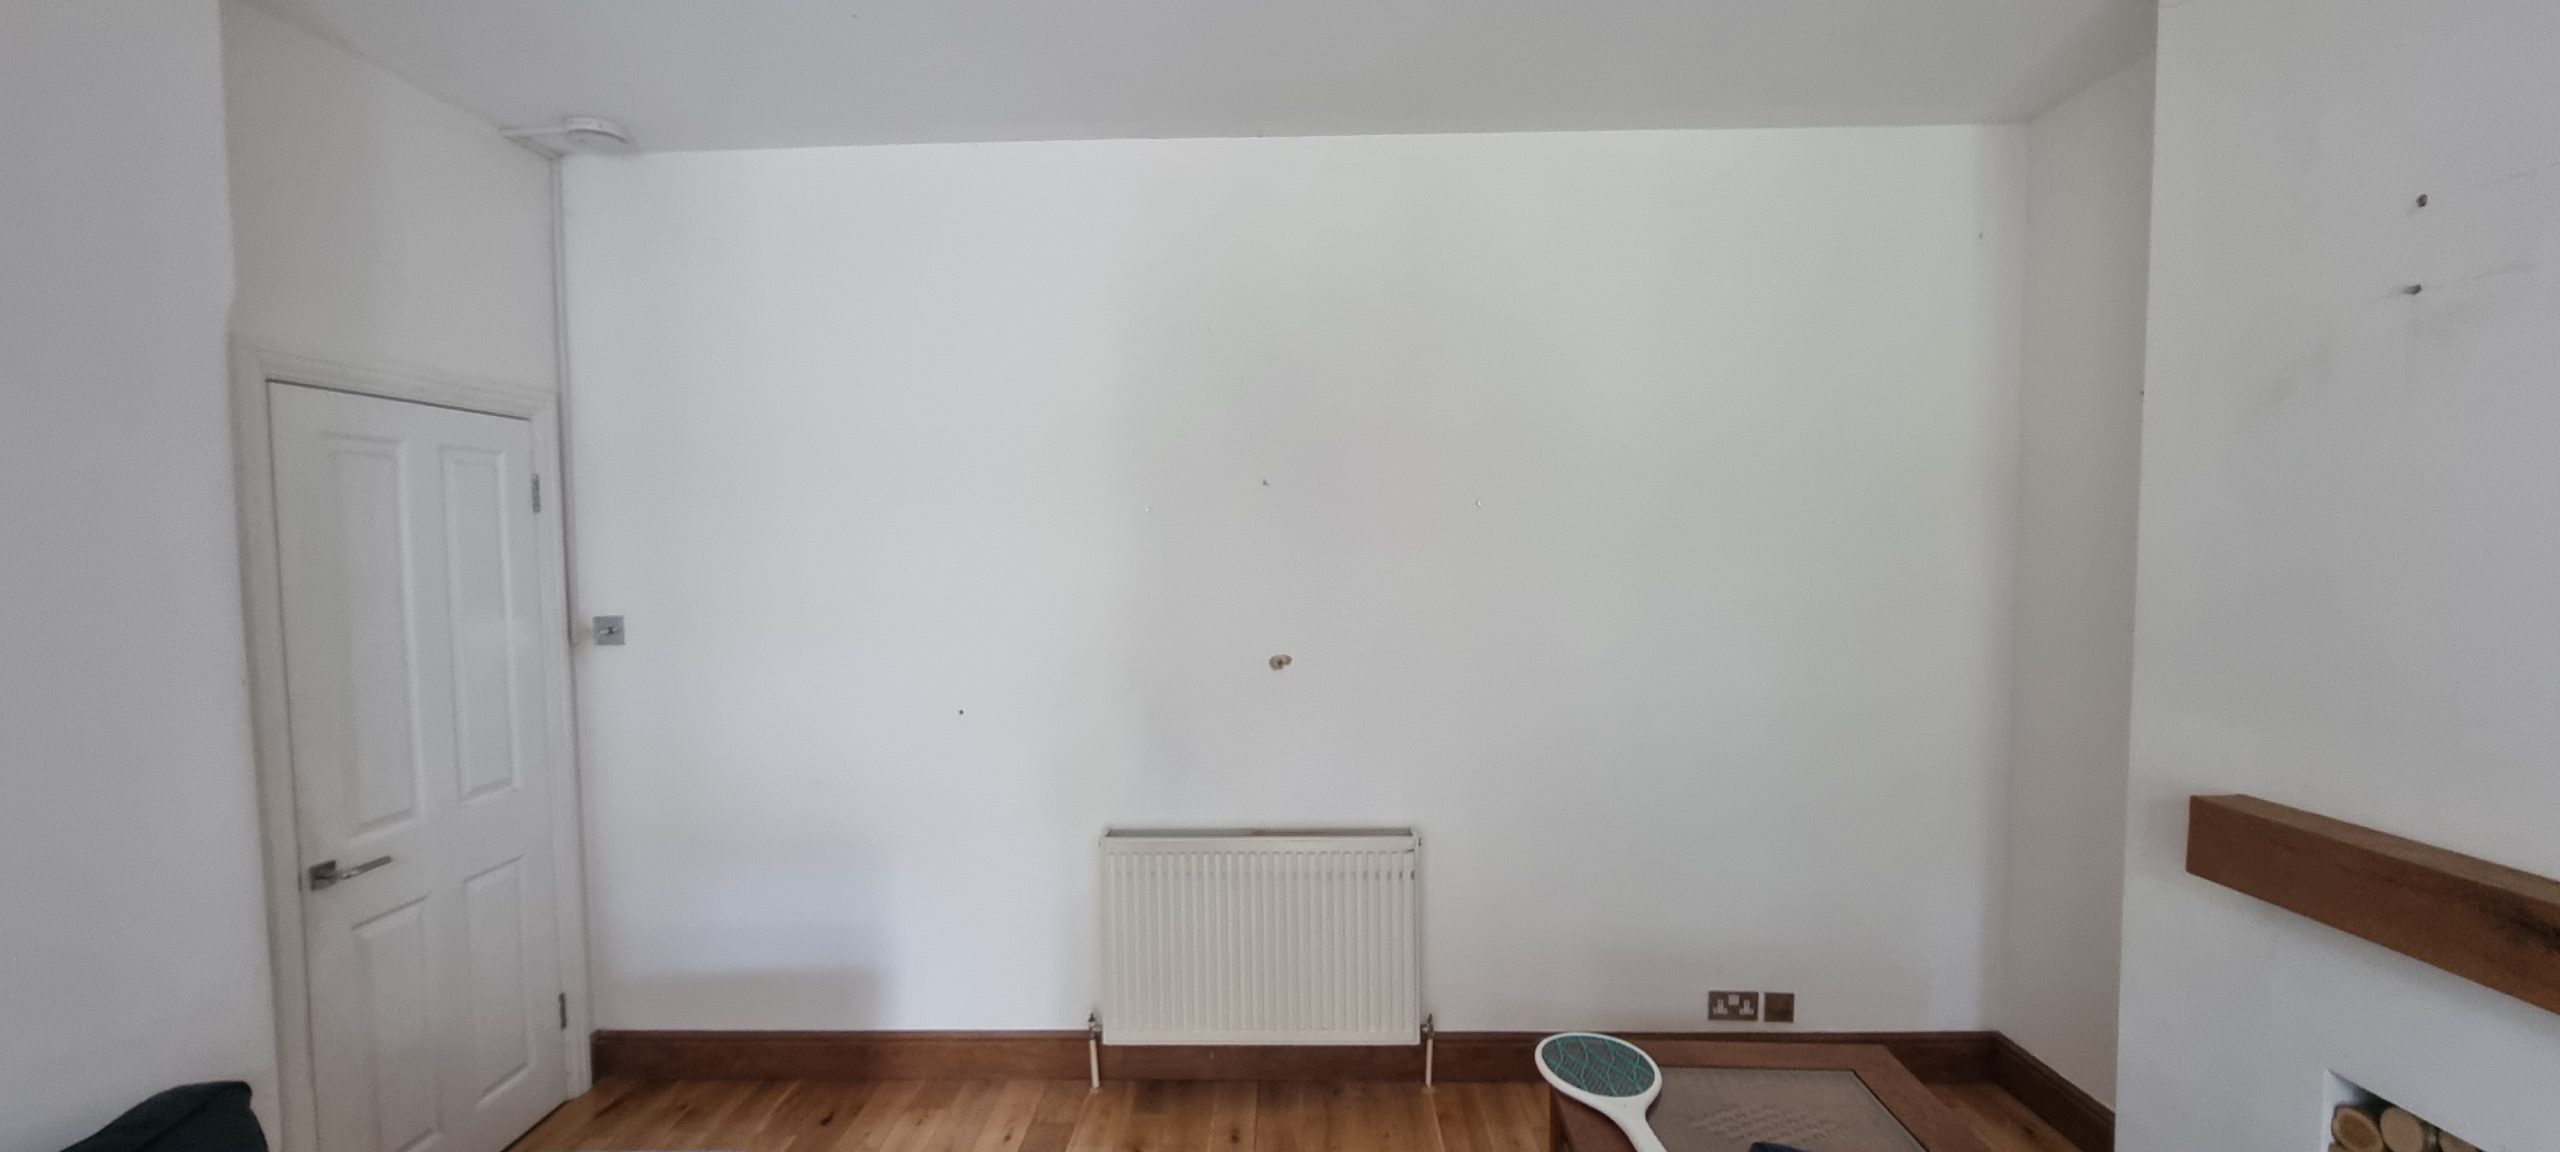
For the removal of a 4m load-bearing wall, consider obtaining approximately 8 acrow props, available for hire at an estimated cost of £100 for a 7-day period.
Additionally, if required, secure strong boy attachments at an approximate cost of £200 for 7 days and order a specified steel beam outlined in your calculation’s drawings from the structural engineer.
A Universal steel beam RSJ, tailored for a 4m wall, typically costs around £300.
Ensure you also acquire pads, with each priced at approximately £16 (two required).
Factor in other essential materials such as cement, plaster, fire-rated plasterboard and any additional items crucial to the project, approx. £500
Skip Hire:
Now, it’s time to arrange for a skip hire. For the removal of a 4m wall and disposal of associated debris, a 6-yard skip should suffice, with an estimated cost of around £400.
Ensure you plan for the placement of the skip, whether you have a driveway or need to explore options with the council for placing it on the road. If the latter is necessary, be aware of an additional cost of approximately £80.
Fifth Step: Load Bearing Wall Removal Labour Cost UK
Now, let’s delve into calculating the labour costs for our project, focusing on the removal of a 4m Load-Bearing wall.
Based on our experience, we anticipate having two individuals on-site daily for seven days, each earning between £250-£300 per day. During the steel beam installation phase, an additional two people will be required for a single day.
To efficiently handle the load-bearing wall removal and disposal into the skip, an extra individual will be needed for a day.
In total, for the seven-day project duration, you will require two people for the full period and an additional two people for three days.
As a result, the estimated labour cost falls in the range of £5,000 to £6,000 for the entire seven-day project.
Sixth Step: Building Regulation Inspections UK

In the course of your project, it is imperative to engage a building regulation inspector at key stages to ensure compliance with standards.
Stage 1: Steel Beam Installation Inspection
Initiate the inspection process by calling in an inspector when the steel beam is installed. Transparency is key; allow the inspector an unhindered view of the entire process.
Avoid covering any elements, as this ensures a thorough assessment of the structural modifications taking place.
Stage 2: Fire-Rated Plasterboard and Skim Coat Inspection
The second inspection is necessary when fitting fire-rated plasterboard and just before applying the skim coat. In some cases, the inspector may request photographs of these stages during the initial visit.
This step emphasises the importance of maintaining transparency and communication throughout the project.
Stage 3: Final Inspection for Project Completion
Conclude the inspection process with a final visit once all project elements are in place. This conclusive assessment ensures that every aspect aligns with regulatory standards.
It serves as the last checkpoint before project completion and certification.
